How to Set Up an Ergonomic Desk: The Complete 2026 Guide
A practical, no-fluff guide to ergonomic desk setup — covering monitor height, chair settings, keyboard placement, and lighting for a healthier home office.
Most people spend thousands on a standing desk or premium chair, then sit in exactly the wrong position anyway. Ergonomics isn’t about expensive gear — it’s about alignment. Get the fundamentals right first, then upgrade.
This guide covers everything in the order it matters: chair first, then desk height, then monitor, then keyboard and mouse, then lighting.
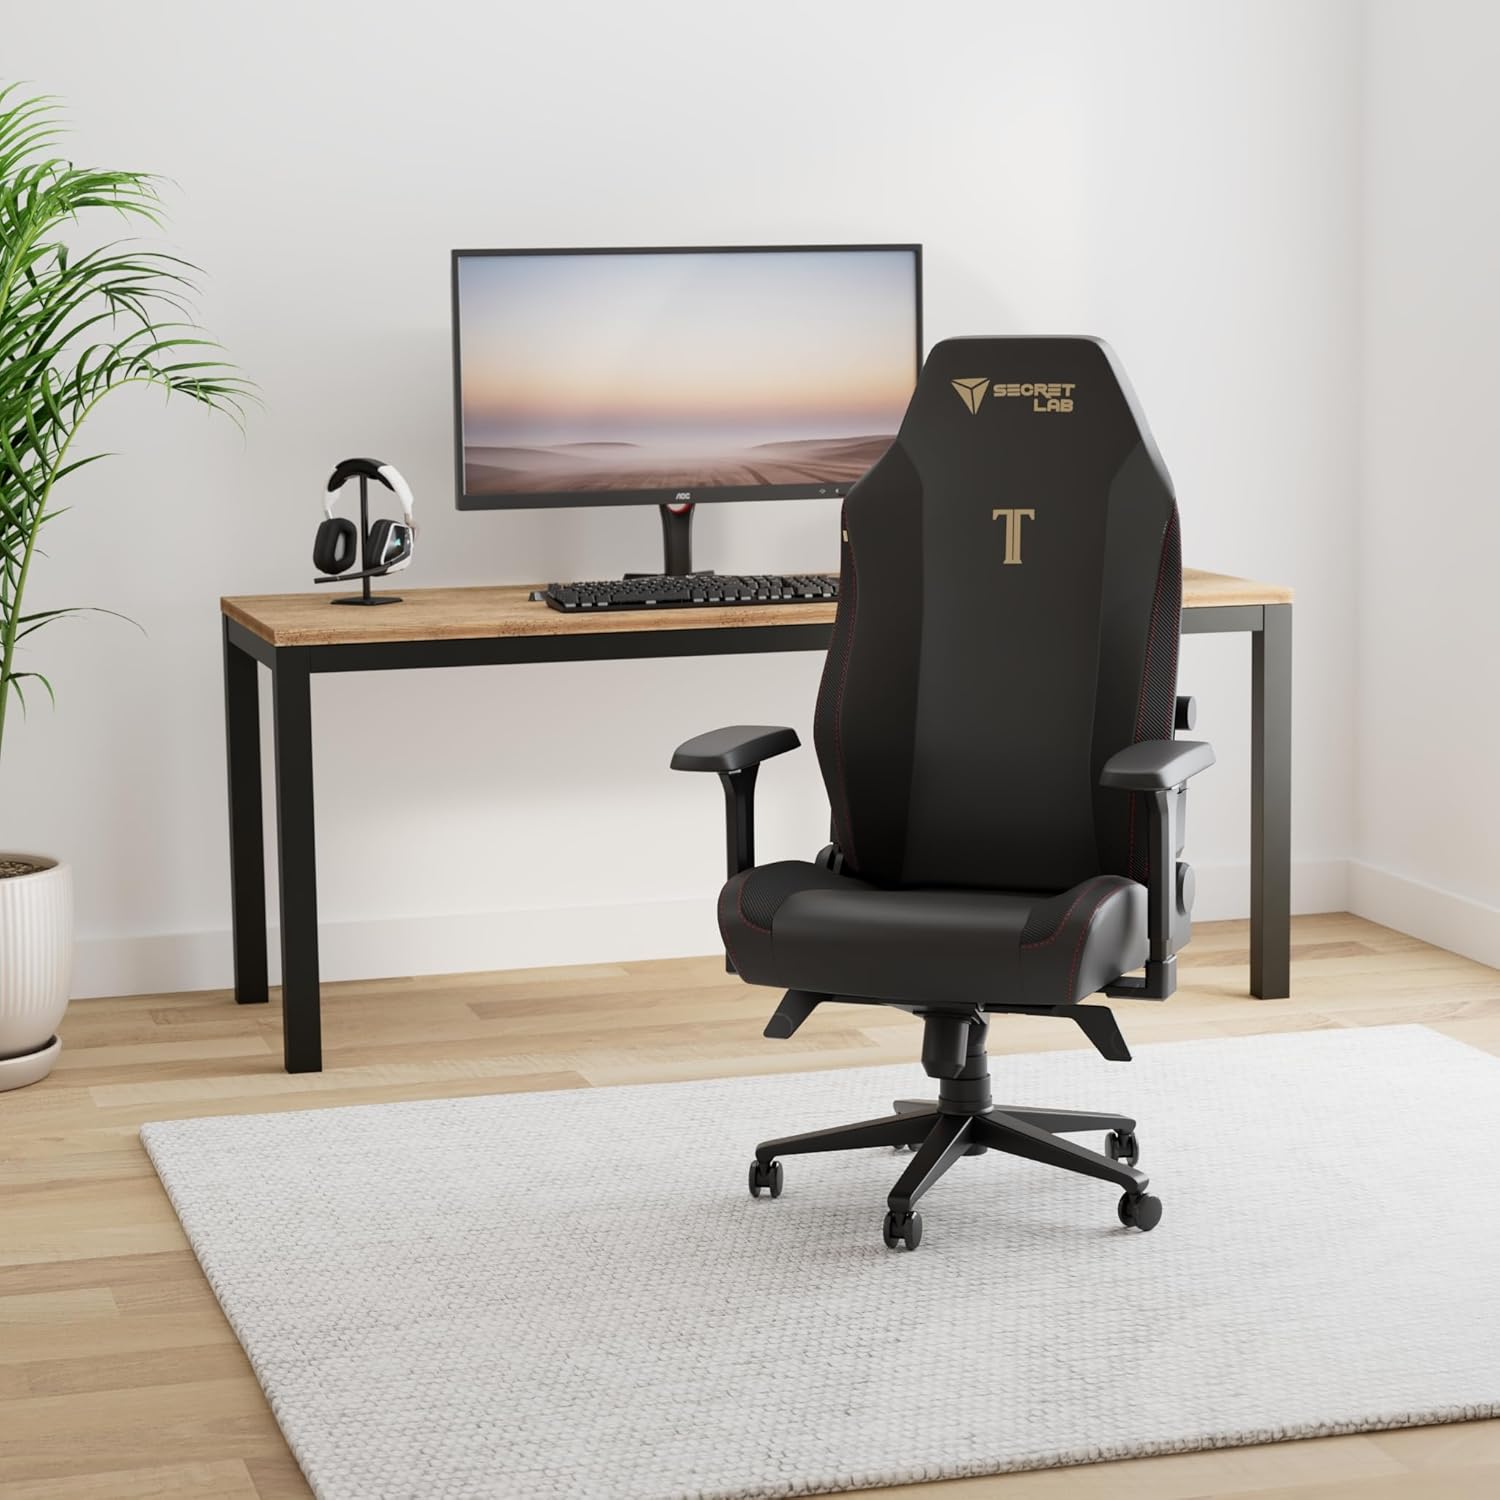
Step 1: Start With Your Chair
Your chair is the foundation. Everything else adjusts around it.
Seat Height
Sit with your feet flat on the floor and your knees at roughly 90 degrees. Your thighs should be parallel to the floor or angled slightly downward. If your feet dangle, you need a footrest — not a lower seat height.
Lumbar and Back Support
Your lower back should be supported in its natural curve. Don’t flatten it against the chair or let it collapse forward. A chair with adjustable lumbar — like the Steelcase Leap V2 — lets you dial this in precisely instead of guessing with a pillow.
Armrests
Set armrests so your elbows rest at roughly desk height with shoulders relaxed. If your shoulders are shrugging up to reach them, lower them. If your arms are floating unsupported, raise them.
Step 2: Set Your Desk Height
With your chair properly adjusted, your desk height follows: elbows should sit just at or slightly above desk level when your forearms are roughly parallel to the floor. For most people, that’s somewhere between 28–30 inches.
If you’re on a standing desk, the same rule applies when standing — elbows at desk height, shoulders down. Don’t set it so high that you’re reaching up.
Step 3: Position Your Monitor
Height
The top of your monitor should be at or just below eye level. Looking slightly downward is natural and reduces neck strain. If you’re craning up to see your screen, your monitor is too high.
A monitor arm like the Ergotron LX makes this trivial to adjust and frees up desk space in the process. Fixed monitor stands are hard to get right and even harder to change.
Distance
Arm’s length is the starting point — roughly 20–28 inches from your eyes. If you find yourself leaning in to read, increase your font size before moving the monitor closer. Closer isn’t always better.
Tilt
Tilt the monitor back very slightly (10–20 degrees) so the bottom of the screen is closer to you than the top. This keeps your neck in a more neutral position.
Multiple Monitors
If you use two monitors equally, center them both and angle each inward toward you. If you have a primary and secondary, put the primary directly in front and the secondary off to the side at a slight angle — don’t strain your neck turning to check it constantly.
Step 4: Keyboard and Mouse Placement
Keyboard Position
Your keyboard should sit at elbow height with wrists neutral — not bent up or down. Keep it close to your body so your arms aren’t reaching forward. Most people push their keyboards too far back.
If you have wrist pain or type for extended periods, an ergonomic keyboard like the Logitech Ergo K860 splits the layout and tents the keys to reduce forearm rotation. It takes about a week to adjust to, but most people don’t go back.
Mouse Placement
Keep your mouse immediately beside your keyboard — no gap. Your arm shouldn’t be reaching sideways to use it. A larger desk mat helps here by giving you a consistent, low-friction surface for both.
Wrist Position While Typing
Avoid resting your wrists on the desk while actively typing. Rest them between keystrokes, not during. Wrist rests are for pausing, not for typing posture.
Step 5: Lighting
Bad lighting causes eye strain and headaches, not just fatigue.
Avoid Direct Glare
Your monitor should not face a window — you’ll be looking into the light source. Position your desk so windows are to your side, not behind or in front of you.
Bias Lighting
A small light behind your monitor softens the contrast between the bright screen and dark surroundings. This genuinely reduces eye fatigue during long sessions.
Task Lighting
A desk lamp angled at your workspace (not at your screen) lets you reduce overall room brightness while keeping your work surface well-lit. Your eyes do less work when the ambient environment is dimmer than your screen.
What to Prioritize If You’re Starting From Scratch
Don’t try to fix everything at once. Work through this order:
- Chair height and lumbar support
- Desk or keyboard tray height
- Monitor height and distance
- Keyboard and mouse placement
- Lighting
Most of the gains come from steps 1–3. If your chair is wrong, nothing else will feel right regardless of what you spend on peripherals.
Ergonomics is a moving target — your body adjusts, your work changes, your setup evolves. Build the habit of checking in every few months. A five-minute adjustment now beats months of neck pain later.